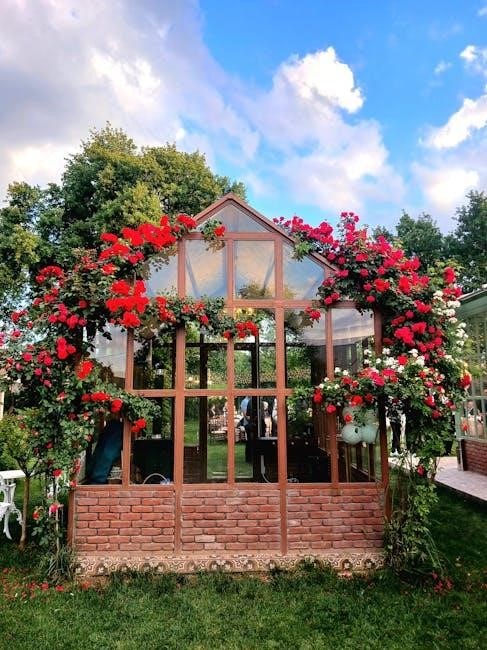
Greenhouse Assembly Instructions: A Step-by-Step Guide
Build your own greenhouse with ease using this comprehensive guide․ Learn how to assemble, maintain, and customize your greenhouse for year-round gardening success with expert tips․
Welcome to our comprehensive guide on greenhouse assembly! This section introduces the basics of assembling a greenhouse, covering essential steps and tips for a successful project․
1․1 Importance of Greenhouse Assembly
Greenhouse assembly is crucial for creating a controlled environment where plants thrive year-round․ Proper assembly ensures structural integrity, protects plants from harsh weather, and maximizes growing conditions․ A well-assembled greenhouse extends the growing season, enhances plant health, and supports sustainable gardening practices․
1․2 Goals of the Guide
This guide aims to simplify the greenhouse assembly process, ensuring a successful and stress-free experience․ It provides clear, step-by-step instructions, essential tools, and materials needed․ The goal is to empower gardeners of all skill levels to build a durable, functional greenhouse, optimizing plant growth and extending the growing season effectively․
Choosing the Perfect Location
Ensure optimal plant growth by selecting a spot with ample sunlight, proper drainage, and protection from harsh winds․ Accessibility and space for future expansion are key considerations․
2․1 Factors to Consider for Placement
Evaluate the site for maximum sunlight exposure, ensuring at least 6 hours of direct light․ Check drainage to prevent waterlogging and avoid low-lying areas․ Protect from strong winds with natural barriers or fencing․ Ensure accessibility for watering and maintenance․ Consider future expansion needs and proximity to utilities like water and electricity․ A level surface is ideal for stable construction and proper door alignment․
2․2 Assessing Sunlight and Drainage
Ensure your greenhouse receives sufficient sunlight, ideally 6-8 hours daily, to promote healthy plant growth․ Avoid shaded areas and overhanging trees․ Check the drainage by observing water absorption in the soil․ A well-draining site prevents waterlogging, reducing root rot risks․ If necessary, create a slight slope to direct water away․ Proper drainage ensures a stable and dry environment for your greenhouse structure․
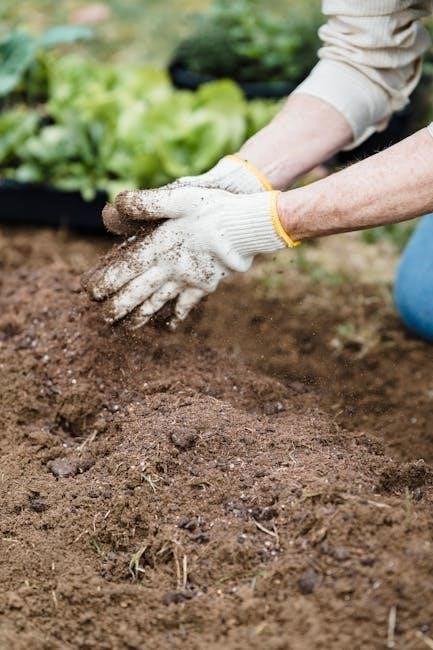
Tools and Materials Needed
Gather essential tools and materials for a smooth assembly process․ Tools include screwdrivers, wrenches, hammers, and saws․ Materials needed are PVC pipes, metal frames, glass or plastic panels, screws, and weatherproof glue for durability․
- Screwdrivers
- Wrenches
- Hammers
- Saws
- PVC pipes
- Metal frames
- Glass or plastic panels
- Screws
- Weatherproof glue
3․1 Essential Tools for Assembly
Essential tools for greenhouse assembly include screwdrivers, wrenches, hammers, utility knives, and saws․ These tools are necessary for securing frames, cutting materials, and tightening connections․ A tape measure ensures accurate fitting, while a level guarantees proper alignment․ Safety gloves and goggles protect during construction․ Depending on the greenhouse type, additional tools like drills or rivet guns may be required․ Having all tools ready simplifies the process and avoids delays․
- Screwdrivers
- Wrenches
- Hammers
- Utility knives
- Saws
- Tape measure
- Level
- Safety gloves and goggles
3․2 Required Materials and Quantities
Essential materials for greenhouse assembly include PVC pipes, polyethylene film, lumber for framing, screws, and connectors․ Quantities vary based on size, but typical needs are 1-inch PVC pipes for the frame, 6mm polyethylene film for covering, and sufficient lumber for the base and walls․ Additional materials like zip ties and wire may be needed for securing the covering․ Ensure all materials are weather-resistant for durability․
- PVC pipes (1-inch diameter)
- Polyethylene film (6mm thickness)
- Lumber (for frame and base)
- Screws and connectors
- Zip ties and wire
Foundation and Anchoring
A sturdy foundation ensures stability and durability․ Secure the greenhouse using ground anchors and tighten the base firmly to withstand wind and weather conditions․
4․1 Anchoring the Greenhouse to the Ground
Secure your greenhouse with ground anchors for stability․ Attach anchor kits to the frame and drive them deep into the soil․ Tighten all bolts firmly to ensure a solid hold, preventing movement from wind or shifting ground․ This step is crucial for long-term durability and safety, ensuring your greenhouse withstands harsh weather conditions effectively․
4․2 Securing the Greenhouse Base to Anchors
Ensure the greenhouse base is tightly fastened to the ground anchors using bolts and washers․ Align the base frame with the anchors, then tighten securely to prevent shifting․ Double-check all connections for stability and weather resistance․ This step ensures the structure remains firmly attached, providing durability and protection against wind and environmental stress․
Building the Greenhouse Structure
Construct the frame with precision, ensuring side walls, front, and end walls are securely attached․ Install roof trusses for support, creating a sturdy structure for the covering material․
5․1 Constructing the Side Walls
Begin by assembling the side wall frames using aluminum or PVC pipes, ensuring they are square and evenly spaced․ Attach the frames to the base anchors securely․ Use screws or bolts to fasten the walls to the foundation, ensuring stability․ Ensure the walls are level and properly aligned before proceeding to the front and end walls for a sturdy structure․
5․2 Constructing the Front and End Walls
Attach the front and end wall frames to the base, ensuring alignment with the side walls․ Secure the frames using bolts or screws, and install the front door frame if included․ Add the top beam to connect the walls, ensuring structural integrity․ Check that all corners are square and the walls are level before moving on to the roof assembly for a secure and balanced structure․
Installing the Covering Material
Stretch the covering material tightly over the frame, securing it with clips or straps․ Tighten evenly to avoid wrinkles, ensuring durability and weather resistance for optimal plant growth․
6․1 Choosing the Right Covering
Selecting the appropriate covering material is crucial for your greenhouse․ Common options include polyethylene film, polycarbonate panels, and glass․ Polyethylene is cost-effective and easy to install, while polycarbonate offers durability and UV protection․ Glass provides excellent light transmission but is heavier and more expensive․ Consider factors like climate, budget, and desired durability when making your choice․
6․2 Securing the Covering Material
Ensure the covering material is tightly fitted and securely fastened to the greenhouse frame․ Use batten strips, screws, or clips to hold the material in place․ For polyethylene film, apply tension evenly to prevent sagging․ Polycarbonate panels may require specialized fasteners to avoid damage․ Proper securing ensures weather resistance and maintains a controlled environment inside the greenhouse․
Ventilation and Temperature Control
Ensure proper airflow and temperature regulation by installing vents, windows, and shading materials․ Automate ventilation systems to maintain optimal conditions for plant growth and health year-round․
7․1 Installing Vents and Windows
Install vents and windows to regulate temperature and humidity․ Start by marking frame locations, then cut openings and secure vents with hinges and latches․ Use weatherproof seals for airtight closure․ Automatically control ventilation with solar-powered openers to maintain optimal conditions․ Ensure proper alignment and level placement for efficient airflow, enhancing plant growth and overall greenhouse performance․
7․2 Managing Temperature Levels
Regulate temperature using thermostats, heaters, and shading materials to maintain optimal conditions․ Install automatic vent openers and consider evaporative cooling systems for heat management․ Insulate walls and use thermal blankets during colder months․ Monitor temperature fluctuations to ensure a stable environment, promoting healthy plant growth and preventing extreme heat or cold damage to your greenhouse crops year-round․

Maintenance and Customization
Regularly inspect and clean your greenhouse to ensure optimal performance․ Customize the interior with shelves, benches, or trellises to maximize space and suit your gardening needs perfectly․
8․1 Regular Maintenance Tips
Regular maintenance ensures your greenhouse remains efficient and durable․ Inspect the structure for wear, clean glass panels for sunlight penetration, and check irrigation systems for proper function․ Trim plants to prevent overcrowding and maintain air circulation․ Replace damaged or worn-out materials promptly to avoid further issues․ Schedule seasonal checks to prepare for extreme weather conditions and pests․ Consistent care will extend the lifespan of your greenhouse and promote healthy plant growth year-round․
8․2 Customizing Your Greenhouse
Customize your greenhouse to suit your gardening needs and preferences․ Add shelving, trellises, or irrigation systems for better plant organization and care․ Incorporate decorative elements like paint or trim for a personalized look․ Install automated vents or solar-powered fans for improved climate control․ Tailor the interior layout to maximize space and accommodate various plant sizes․ Personal touches will make your greenhouse both functional and unique, enhancing your gardening experience․

Final Inspection and Tips
Conduct a thorough inspection of the greenhouse structure, ensuring all parts are secure and undamaged․ Apply final touches and consider adding automated systems for optimal plant growth․
9․1 Conducting a Final Check
Inspect the greenhouse structure for stability and alignment․ Ensure all bolts, screws, and anchors are tightly secured․ Check for gaps in the frame or covering material․ Verify that doors and vents open smoothly and seal properly․ Clean any debris and ensure the interior is ready for planting․ Make final adjustments to ensure everything functions correctly and is safe for use․
9․2 Additional Tips for Success
Regularly inspect the greenhouse for wear and tear․ Use durable materials to ensure longevity․ Maintain proper ventilation and temperature control for optimal plant growth․ Keep tools and supplies organized for easy access․ Schedule seasonal checks to prepare for extreme weather conditions․ Consider adding shading materials during summer and insulation in winter․ Keep a maintenance log to track repairs and upgrades for future reference․