Mr. Coffee Maker Instruction Manual: A Comprehensive Guide
Welcome! This guide provides detailed instructions for various Mr. Coffee models, including the ECM20, ISX43, and PTC1M.
Discover how to brew, clean, and troubleshoot your machine effectively, ensuring years of delicious coffee enjoyment.
Access manuals via the Internet Archive and ManualsLib, offering free downloads for models like the ECM20 and PTC1M.
Reddit users also share experiences and resources for locating elusive manuals, like the ECM2.
Understanding Your Mr. Coffee Maker
Mr. Coffee makers are designed for simplicity and convenience, offering a range of models to suit diverse brewing preferences. From basic drip coffee machines to more advanced espresso and cappuccino makers like the ECM20, understanding the core principles of operation is key.
These machines utilize a heating element to warm water, which then percolates through coffee grounds, extracting flavor. Models like the ISX43 offer specialized features, while the PTC1M caters to on-the-go lifestyles.
Locating the correct instruction manual – often available through resources like the Internet Archive and ManualsLib – is crucial. These manuals detail specific functionalities, safety precautions, and troubleshooting steps. Even finding a similar model’s manual, as suggested on Reddit for the elusive ECM2, can be helpful. Familiarizing yourself with your machine’s components and operation ensures optimal performance and longevity.
Identifying Mr. Coffee Maker Models
Mr. Coffee produces a diverse array of coffee makers, each designed with specific features and capabilities. Key models include the ECM20, a steam espresso/cappuccino maker; the ISX43, known for its operational features; and the PTC1M “Commuter,” geared towards portable brewing.
Accurate model identification is vital for accessing the correct instruction manual and troubleshooting information. Resources like the Internet Archive and ManualsLib categorize models, facilitating searches. However, some models, like the ECM2, prove difficult to locate documentation for, as noted on Reddit.
Pay close attention to the model number, typically found on the appliance’s base or within the water reservoir. Knowing your specific model ensures you’re referencing the appropriate guides for operation, cleaning, and safety procedures. Correct identification unlocks access to model-specific instructions and support.
Key Components and Parts
Mr. Coffee makers, regardless of model, share fundamental components. These include the water reservoir, crucial for holding the brewing water; the filter basket, which securely holds the coffee grounds; and the carafe, designed to collect the brewed coffee. Specific models, like the ECM20, add components like steam wands and portafilters for espresso preparation.
The PTC1M “Commuter” features a travel mug compatibility aspect, highlighting the importance of its design. Understanding each part’s function is essential for proper operation and maintenance. Diagrams of parts are often included in instruction manuals, such as those available on ManualsLib for the ECM20.
Regular inspection of these components ensures optimal performance and longevity. Familiarizing yourself with these parts will aid in troubleshooting and cleaning procedures, ultimately enhancing your coffee brewing experience.
Initial Setup and Preparation
Before your first brew, careful setup is vital. Begin by unpacking your Mr. Coffee maker and removing all packaging materials. Place the coffee maker on a stable, level surface, away from water sources. Ensure adequate ventilation around the unit.

Inspect all components for any damage incurred during shipping. Refer to the model-specific instructions – available on resources like the Internet Archive – for diagrams and safety precautions. The ECM20, for example, requires attention to pressure-related warnings.
Familiarize yourself with the location of the water reservoir, filter basket, and carafe. Proper placement is crucial for optimal brewing. Initial preparation also includes a thorough cleaning cycle (detailed later) to remove any manufacturing residue.
First-Time Use: Cleaning Before Brewing
Prior to enjoying your first cup, a thorough cleaning cycle is essential. Fill the water reservoir to its maximum capacity with fresh, clean water. Do not add coffee grounds during this process. Place the carafe securely on the warming plate.
Initiate a full brewing cycle as if you were making coffee. This will flush out any residual manufacturing oils or particles from the internal components. Discard the water from the carafe after the cycle completes. Repeat this process at least twice, using fresh water each time.
This initial cleaning ensures a pure coffee flavor and extends the lifespan of your Mr. Coffee maker. Resources like ManualsLib emphasize this step for models like the PTC1M.
Water Reservoir and Filter Basket
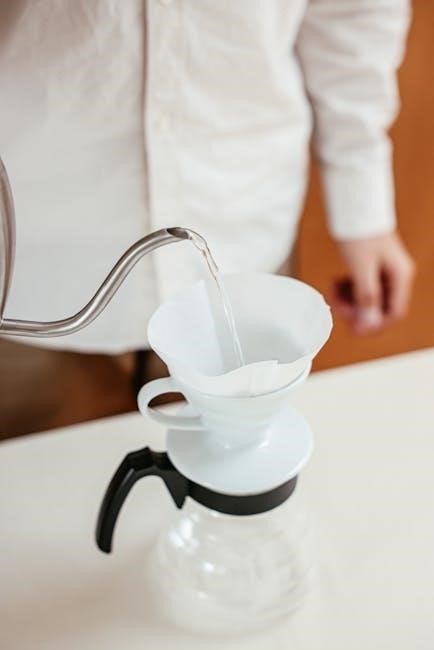
The water reservoir is designed for easy filling and accurate measurement. Locate the water level indicator to ensure you’re adding the correct amount of water for your desired number of cups. Use fresh, cold water for optimal brewing. Avoid overfilling, as this can cause overflow during the brewing process.
The filter basket accommodates standard paper filters (typically #4 size, but verify with your model’s documentation). Ensure the filter is properly seated within the basket to prevent grounds from escaping into your coffee. Some models may utilize a reusable filter; clean this thoroughly after each use.
Properly utilizing these components, as detailed in available manuals, is crucial for a consistently great brew.
Brewing Coffee: Step-by-Step Instructions
Step 1: Fill the water reservoir with the desired amount of fresh, cold water, referencing the water level markings. Step 2: Insert a paper filter (or reusable filter) into the filter basket. Step 3: Add the appropriate amount of ground coffee to the filter – a general guideline is one to two tablespoons per six ounces of water, adjusting to your preference.
Step 4: Ensure the carafe is securely placed on the warming plate. Step 5: Close the lid and press the power button to initiate the brewing cycle. The machine will automatically heat the water and drip it through the coffee grounds.
Refer to your specific model’s manual for detailed instructions and safety precautions.
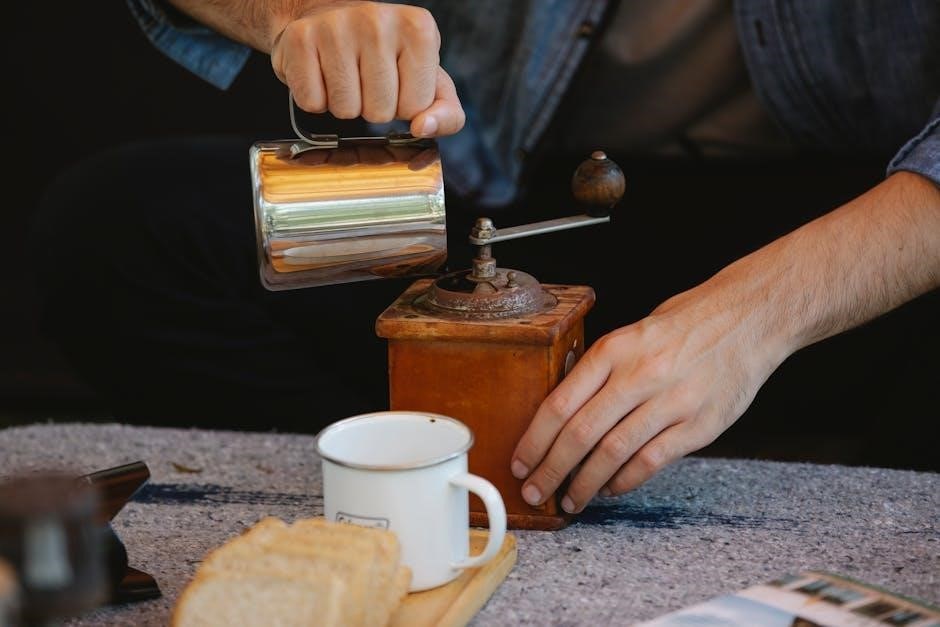
Adding Coffee Grounds and Water
Water: Begin by filling the Mr. Coffee’s water reservoir with fresh, cold water. Use the water level indicators on the reservoir to measure accurately, ensuring you add the correct amount for your desired number of cups. Coffee Grounds: Next, insert a paper filter, or a reusable filter, into the filter basket.
A standard guideline suggests using one to two tablespoons of ground coffee per six ounces of water. Adjust this ratio to suit your personal taste preferences – more coffee for a stronger brew, less for a milder flavor. Ensure the grounds are evenly distributed within the filter.
Proper measurement is key to optimal flavor!

Starting the Brewing Cycle
Initiating Brew: Once the water reservoir is filled and the filter basket contains the appropriate amount of coffee grounds, ensure the carafe is securely positioned on the warming plate. This is crucial for a safe and efficient brewing process.
Power On: Locate the power button, typically marked with a simple on/off symbol, and press it to activate the Mr. Coffee maker. Some models may feature a ‘Brew’ button that needs to be pressed separately after powering on.
Brewing Begins: The machine will now begin heating the water and slowly dripping it through the coffee grounds. Allow the brewing cycle to complete fully before interrupting it. Enjoy the aroma!
Specific Model Instructions: ECM20
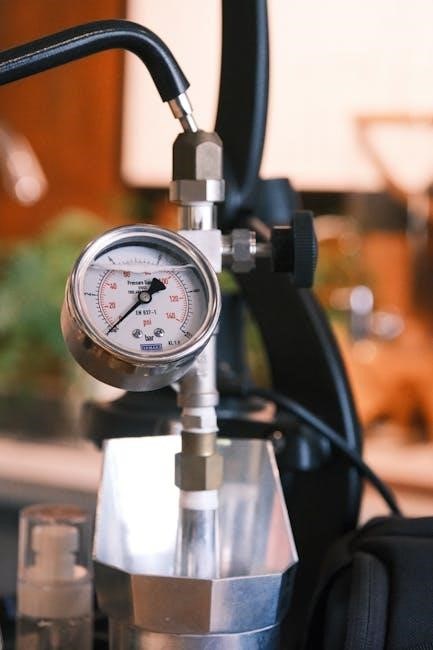
ECM20 Overview: The Mr. Coffee ECM20 is a steam espresso/cappuccino maker, designed for home use. Finding a dedicated manual can be challenging, as noted by users on Reddit, but the ECM9 manual offers a similar operational guide.
Espresso & Cappuccino: Preparing beverages with the ECM20 involves understanding its specific components. Refer to available resources for instructions on how to prepare espresso and cappuccino at home, focusing on pressure and steam functions.
Safety First: Always consult the diagram of parts for proper assembly and familiarize yourself with caution notes regarding pressure. ManualsLib provides access to the ECM20 instruction manual for detailed guidance.
ECM20: Preparing Espresso and Cappuccino
Espresso Creation: The Mr; Coffee ECM20 allows for home espresso preparation, though specific instructions require referencing available manuals or similar models like the ECM9. Proper tamping and grind size are crucial for optimal extraction.
Cappuccino Delight: To create a cappuccino, utilize the ECM20’s steam function to froth milk. Achieving the right texture requires practice and understanding the machine’s steam pressure.
Step-by-Step Guidance: Consult resources like ManualsLib for detailed instructions on preparing both espresso and cappuccino with the ECM20. Pay close attention to safety precautions related to steam and pressure during operation.
ECM20: Diagram of Parts & Safety Precautions
Component Overview: The Mr. Coffee ECM20 features several key parts, including the water reservoir, portafilter, steam wand, and drip tray. A detailed diagram, often found within the instruction manual available on platforms like ManualsLib, illustrates these components. Understanding their location is vital for operation and maintenance.
Critical Safety Measures: Exercise extreme caution when operating the ECM20 due to pressurized steam; Always follow the “Caution: Pressure” warnings detailed in the manual. Never open the brew head during operation. Ensure the machine is unplugged before cleaning.
Responsible Usage: Keep the ECM20 away from water sources and ensure proper ventilation. Refer to the manual for complete safety guidelines to prevent injury and ensure longevity.
Specific Model Instructions: ISX43
Model Overview: The Mr. Coffee ISX43 is designed for convenient coffee brewing. User manuals for this model are accessible through the Internet Archive, offering free downloads and streaming options. These resources provide comprehensive guidance on maximizing the ISX43’s features.
Operational Highlights: The ISX43 boasts straightforward operation, ideal for daily use. Familiarize yourself with the power switch, brew button, and water reservoir markings. Proper water levels are crucial for optimal brewing.
Troubleshooting Assistance: If encountering issues, consult the manual for common problem-solving steps. The Internet Archive’s documentation can assist in diagnosing and resolving typical ISX43 malfunctions, ensuring continued enjoyment.
ISX43: Features and Operation
Key Features: The Mr. Coffee ISX43 is a user-friendly coffee maker designed for simplicity and convenience. It typically includes a pause-and-serve function, allowing you to enjoy a cup mid-brew. The removable filter basket simplifies cleaning, while the water window provides clear level indication.
Brewing Process: Operation involves filling the water reservoir, adding ground coffee to the filter, and pressing the brew button. Ensure the carafe is properly positioned on the warming plate. The ISX43 automatically shuts off after brewing, enhancing safety.
Resource Availability: Detailed operational instructions are readily available through online resources like the Internet Archive, offering downloadable manuals for comprehensive guidance.
ISX43: Troubleshooting Common Issues
Coffee Maker Not Brewing: If the ISX43 fails to brew, ensure it’s plugged in and the power outlet is functioning. Check if the water reservoir is adequately filled and correctly seated. Verify the brew basket is properly inserted.
Slow Brewing: Slow brewing can indicate mineral buildup. Descaling the machine (see cleaning section) is recommended. Using coarsely ground coffee can also contribute to slower brewing times.
Leaks: Inspect the water reservoir and filter basket for cracks or improper seating. Ensure the carafe is correctly positioned on the warming plate. Online resources, like the Internet Archive, may offer diagrams to aid in identifying leak sources.
Further Assistance: Consult the full manual for detailed troubleshooting steps.
Specific Model Instructions: PTC1M (Commuter)
Brewing On-the-Go: The Mr. Coffee Commuter PTC1M is designed for convenient, portable brewing. This model excels at providing coffee for single servings during commutes or travel. It’s optimized for use with standard mugs.
Mug Compatibility: The PTC1M accommodates various mug sizes, though optimal performance is achieved with standard 12-14oz travel mugs. Ensure the mug fits securely under the brew basket to prevent spills.
Operation: Fill the water reservoir and add coffee grounds to the filter basket. Securely place your mug and initiate the brewing cycle. ManualsLib provides downloadable operating instructions for the PTC1M and related models (PTC13SD, PTC13SM, PTC1).
Safety: Always handle hot coffee with care.
PTC1M: Brewing On-the-Go
Designed for Convenience: The Mr. Coffee Commuter PTC1M prioritizes portability, making it ideal for individuals seeking a quick and easy coffee solution during their daily commute or travels. Its compact design and simple operation streamline the brewing process.
Single-Serve Brewing: This model is specifically engineered for single-cup brewing, eliminating waste and ensuring a fresh, personalized coffee experience. It’s perfect for those who prefer individual servings.
Easy Operation: Simply fill the water reservoir, add your preferred coffee grounds, and place a compatible mug under the brew basket. Initiate the brewing cycle, and enjoy fresh coffee on the go! Refer to the downloadable manual on ManualsLib for detailed instructions.
Travel Ready: Enjoy fresh coffee wherever life takes you!

PTC1M: Compatibility with Different Mug Sizes
Versatile Design: The Mr. Coffee Commuter PTC1M is designed to accommodate a range of mug sizes, offering flexibility for your brewing needs. While optimized for travel mugs, it can also handle standard coffee cups.
Adjustable Drip Tray: A key feature is the adjustable drip tray, which allows you to comfortably position mugs of varying heights. This prevents spills and ensures proper coffee flow directly into your cup.
Height Considerations: For taller travel mugs, fully retract the drip tray to provide adequate clearance. Shorter mugs may require partial or no adjustment. Always ensure the mug is stable and securely positioned before starting the brewing cycle.
Optimal Brewing: Refer to the PTC1M operating instructions manual available on ManualsLib for specific recommendations and diagrams.
Cleaning and Maintenance
Regular upkeep is crucial for optimal performance and longevity of your Mr. Coffee maker. Daily cleaning involves washing the carafe, filter basket, and lid with warm, soapy water after each use. Avoid abrasive cleaners, which can damage surfaces.
Exterior Cleaning: Wipe down the exterior of the machine with a damp cloth. Descaling is essential to remove mineral buildup, especially if you have hard water. This process typically involves running a solution of vinegar and water through a brewing cycle.
Frequency: A regular cleaning schedule, including descaling every 1-3 months, will maintain coffee quality and prevent malfunctions. Consult your specific model’s manual for detailed instructions.
Resources like the Internet Archive offer manuals for various models.
Regular Cleaning Schedule
Daily: After each brew, immediately wash the carafe, filter basket, and lid with warm, soapy water. Rinse thoroughly to remove any residue. Wipe down the exterior of the coffee maker with a damp cloth to prevent spills from hardening.
Weekly: Inspect the spray head for clogs and clean if necessary. Ensure no coffee grounds remain in the filter basket area. A quick wipe-down of the warming plate is also recommended.
Monthly (or as needed): Descale your Mr. Coffee maker using a solution of equal parts white vinegar and water. Run a full brewing cycle, then two cycles with fresh water to rinse. This removes mineral buildup, ensuring optimal performance.
Refer to your model’s manual for specific cleaning recommendations.
Descaling Your Mr. Coffee Maker
Why Descale? Mineral deposits from water accumulate over time, affecting brewing performance and coffee taste. Descaling removes these deposits, extending your coffee maker’s lifespan and ensuring optimal flavor.
The Process: Combine equal parts white vinegar and water – typically 4-6 cups total, depending on your model’s capacity. Pour the solution into the water reservoir. Run a full brewing cycle without coffee grounds.
Rinsing is Crucial: After the vinegar cycle, run at least two full brewing cycles with fresh, clean water to thoroughly rinse away any remaining vinegar taste and odor. Repeat if necessary.
Descaling frequency depends on water hardness; monthly is a good starting point.

Troubleshooting Common Problems
Coffee Maker Not Turning On? First, ensure the unit is properly plugged into a working outlet. Check the power cord for any damage. If still unresponsive, a reset might be needed – unplug for several minutes, then retry.
Slow or No Brewing? This often indicates mineral buildup. Descale your machine (see dedicated section) to restore proper water flow. Also, verify the filter basket isn’t overfilled or clogged;

Weak Coffee? Use the correct coffee-to-water ratio. Ensure coffee grounds are fresh and properly ground. A clogged filter can also contribute to weak brew;
Reddit users often seek help with specific models like the ECM2, highlighting the importance of model-specific troubleshooting.
Coffee Maker Not Turning On
Initial Checks: Before assuming a major issue, confirm the Mr. Coffee maker is securely plugged into a functioning electrical outlet. Test the outlet with another device to rule out a power supply problem. Inspect the power cord itself for any visible signs of damage – fraying, cuts, or exposed wires.
Resetting the Unit: Sometimes, a simple reset can resolve the issue. Unplug the coffee maker from the outlet and allow it to sit for approximately five to ten minutes. This allows any residual electricity to dissipate.
Further Investigation: If the problem persists, consider internal fuse issues (if applicable to your model). Refer to the model-specific manual for guidance. Online resources, like the Internet Archive, may offer downloadable manuals.
Coffee Brewing Too Slowly or Not at All
Mineral Buildup: A primary cause of slow brewing is mineral scale buildup within the machine, particularly in the water reservoir and spray head. This restricts water flow. Regular descaling, as outlined in the maintenance section, is crucial.
Filter Issues: Ensure the filter basket isn’t overfilled with coffee grounds, as this can create a blockage. Verify the filter itself is correctly positioned and isn’t clogged. Using the correct filter type is also important.
Water Reservoir: Confirm the water reservoir is properly seated and filled to an appropriate level. Insufficient water or an improperly fitted reservoir can halt the brewing process. Consult your model’s manual (available on sites like the Internet Archive) for specific water level guidelines.